1. You are sensitive to or prefer to avoid the additives in canned coconut milk such as guar gum or xantham gum.
2. You are concerned about BPA in canned products for you or your children.
3. It is not available where you live.
4. You use so much of it, you would like to reduce cost.
5. You bought a Vitamix and now need to justify why you NEEDED it!
Step 1: Measure 2 cups filtered water and 1 cup dry, unsweetened coconut. Heat water if you are not using a Vitamix.
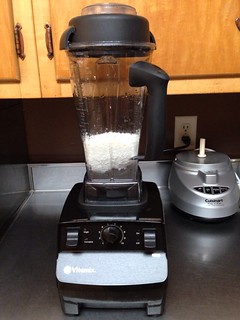
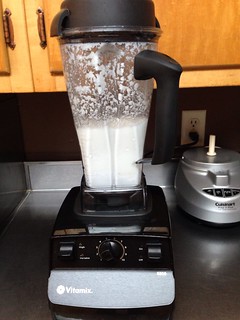
Step 2: Turn it on and let it go for several minutes. I like to feel the sides of the container for when it is warm.
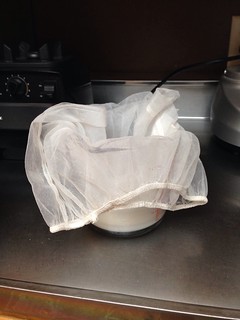
Step 3: Strain milk. You can purchase a "nut milk bag," but I use a paint strainer I purchased at a hardware store for about $3.
Step 4: Squeeze all the moisture you can out of the pulp.
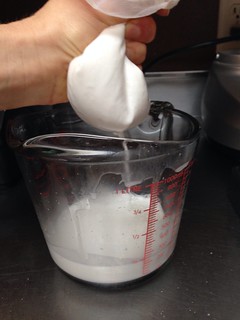
Step 5: Discard pulp or move onto step 6.
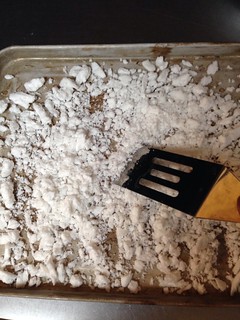
Step 6: Spread pulp out onto a baking sheet. Place in a 250 degree oven (I use my toaster oven) for about 20 minutes. Watch it so it doesn't brown too much. You only want it slightly toasted. Make sure it is completely dehydrated. Sometimes I let it sit on the counter for 24 hours.
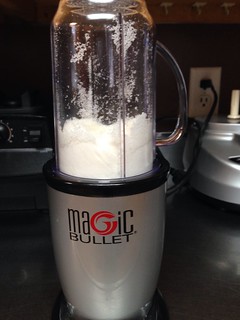
Step 7: Grind into coconut flour. I use the flat blade with my Magic Bullet.
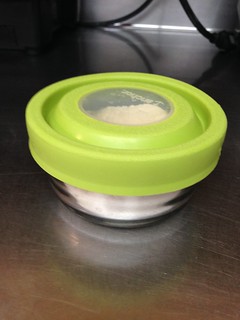
Step 8: Store in an airtight container in the freezer until ready to use.
I love doing this with the coconut I buy in bulk. There is absolutely no waste and the milk and flour are delicious! ***I have had trouble using this flour in some recipes. I use it for things that do not need to be so exact like pancakes and coatings for meat. I would not recommend for cakes, pastries, or new recipes.***
No comments:
Post a Comment